Setting email and attachments save options
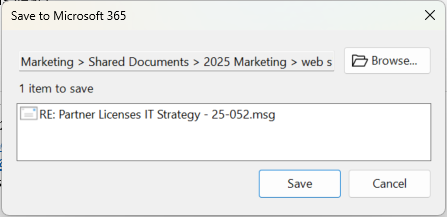
This article explains the options in the Save to Microsoft 365 dialog that appears when you save an email or attachments to SharePoint, Teams, or OneDrive using harmon.ie Classic.
Follow these steps to save emails or attachments:
- Select a save location. By default, harmon.ie selects the currently opened location, if available. To set another location:
- Click Browse.

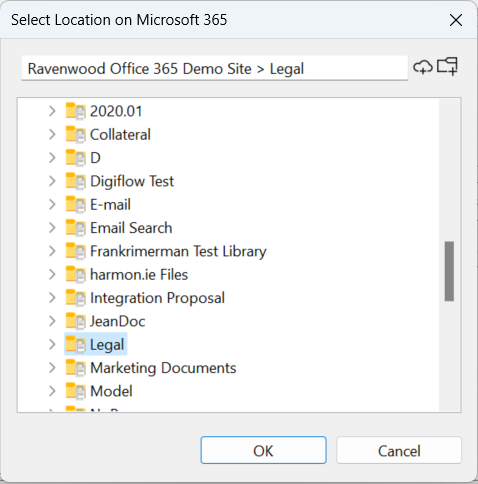
- Navigate through the tree view to find your location, or use the search bar to find a location by name. You can create a new folder (
) if needed.
- Click Choose Location when you are done.

- Click Browse.
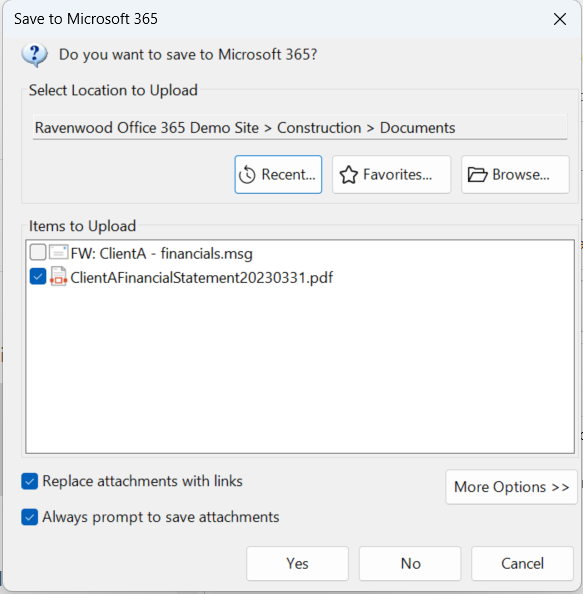
- (Optional) Select items to save. This option is available if you are saving multiple attachments or an email with attachments. Select the message and/or the attachments you want to save.
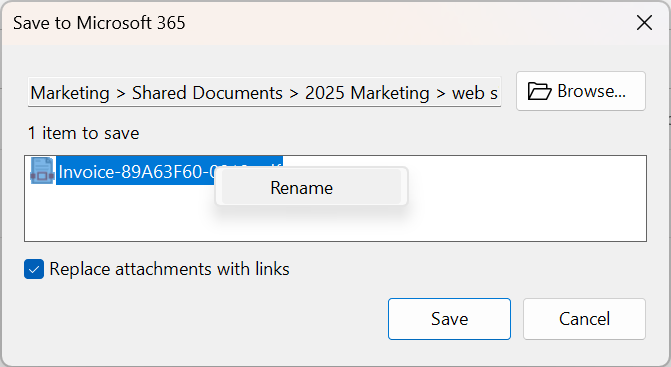
When saving email messages with harmon.ie, the attachments are always saved within the .msg file. You can view them by opening the .msg file. If you also choose to save attachments separately, they will be stored as individual documents in the selected location. - (Optional) Rename items. You can rename emails or attachments you save. Right-click the item and select Rename, click and hold, or press F2. Specify a new name and press Enter.
- (Optional) Replace attachments with links. This option is available only when saving attachments. Select this option to replace the attachments in the email message with links to the documents on the SharePoint, Teams, or OneDrive location.
- For incoming messages or attachments: Click Save when done, or Cancel.
For outgoing messages (Save on Send): Click Save and send to save and send, or Send to send without saving.


