New harmon.ie
The Next Generation of Email & Document Management
Elevate collaboration and compliance with a seamless Microsoft 365 experience — from every Outlook end-point.

Why Choose New harmon.ie?
Better Information Management
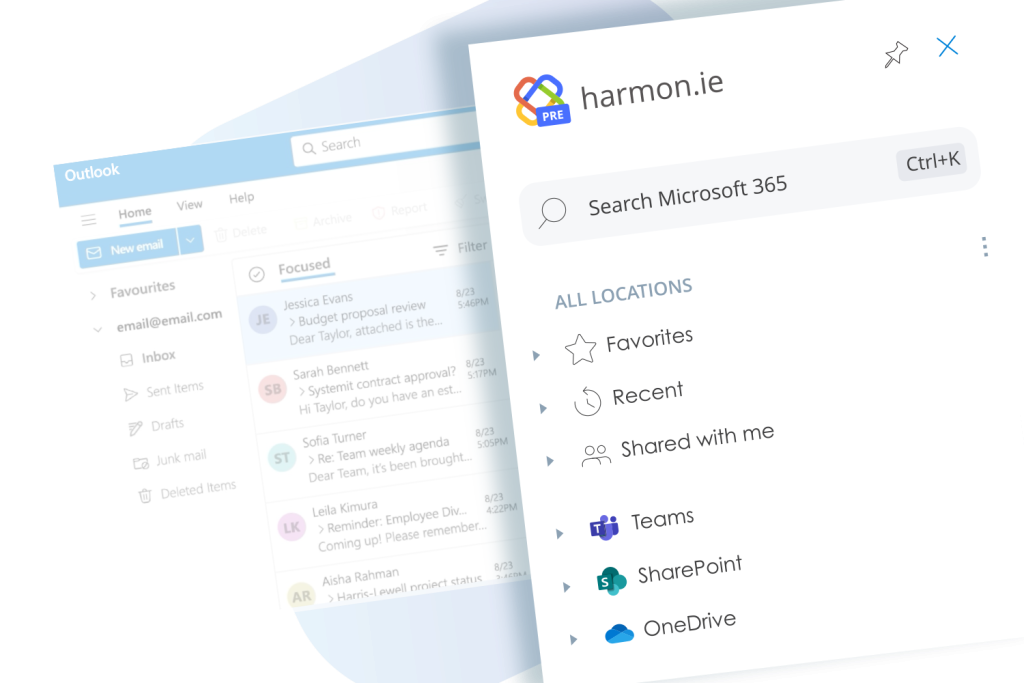
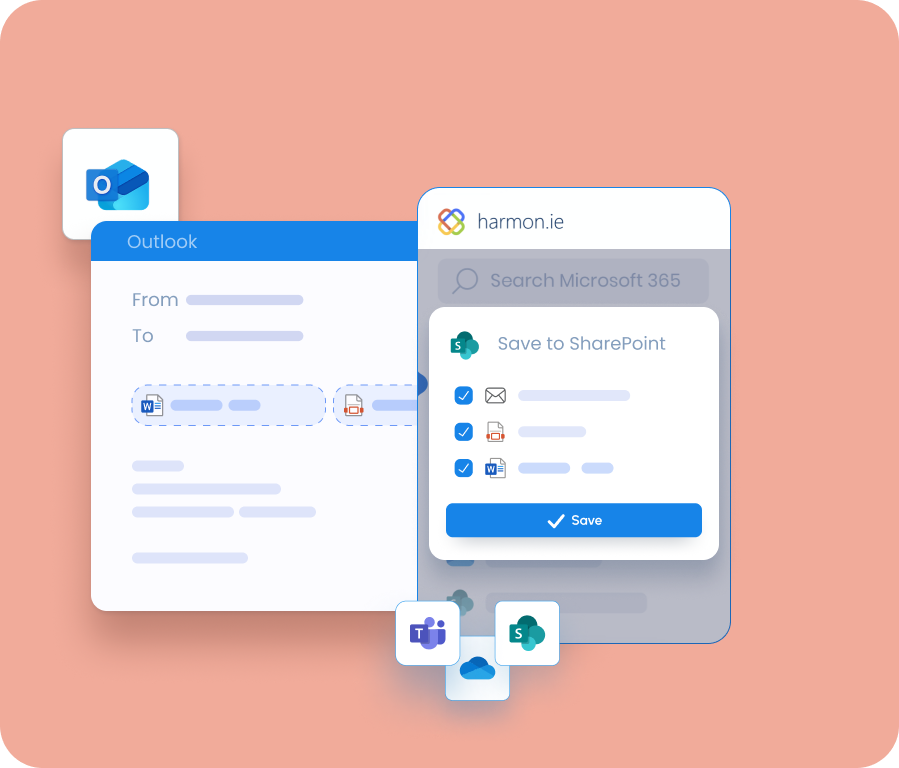
Save emails and attachments to SharePoint and Teams, search, share, and manage your Microsoft 365 files from within Outlook.
The Best Experience Across all Outlooks
New harmon.ie works with any Outlook including the new Outlook and any platform: Windows, Mac, or any web browser.
Intuitive interface
Simple interface empowers all employees (not just techies) to interact with Microsoft 365, from within the familiar Outlook environment.
No learning curve.
Outlook-Teams Bridge
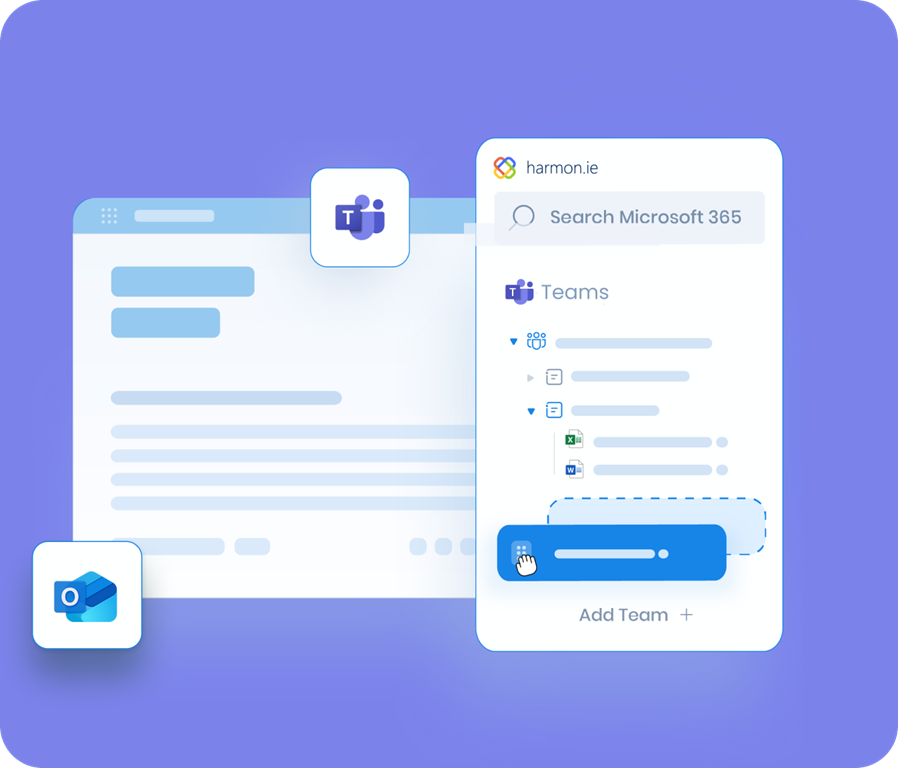
Save emails and documents in any Teams location.
Easily share files from Teams in emails or share files from across Microsoft 365 to a Teams channel or chat
Secure, Client-Side Data Protection
Your data stays private, client-side, and within your tenant.
Effortless Deployment and Premium Support
Fast and secure installation through Microsoft AppSource, automatic updates and premium support.
What Can New harmon.ie Do for You?

Unified Access to Microsoft 365 Files
New harmon.ie provides a seamless integration of Microsoft 365 files and locations directly within Outlook, allowing users to manage their entire digital workspace from a single interface.
This approach eliminates the need to switch between multiple applications, dramatically simplifying information management.
Save Emails and Attachments to Microsoft 365
Save emails and attachments directly to Microsoft 365, keeping them with related project documents for better organization and findability.


Search Fast, Find Everything!
Find what you need faster with harmon.ie’s robust search tools—search across Microsoft 365 or in specific Microsoft 365 locations easily, or use filters, views, favorites, and recent.
No more time-consuming searches across different file systems. Everything in one place.
Secure and Instant File Sharing
Quickly share secure links to Microsoft 365 files via email, improving collaboration while reducing duplication.


Bring Your Emails to Teams Discussions
Post emails and attachments to Teams to initiate real-time collaboration on shared content.
Microsoft Trusted Partner


Security & Privacy
harmon.ie is designed from the ground with your security and privacy in mind.
- Your emails and documents never leave your tenant. harmon.ie is a client app connecting directly to your Microsoft 365 tenant (no harmon.ie servers, no back-end components). Your emails and documents are protected by your Microsoft policies and security environment.
- Microsoft 365 consent. New harmon.ie is using the OAuth 2.0 authentication to securely connect with Microsoft 365 on behalf of the app users – harmon.ie uses delegated app permissions allowing users to view and edit only the Microsoft 365 files and locations they are authorized to see.
- Certifications ensure harmon.ie meets the highest standards. New harmon.ie is ISO 27001 certified and has completed the Microsoft 365 App Compliance Program.
